
These banana pudding cups layer silky homemade vanilla pudding, ripe banana slices, vanilla wafers, and fluffy whipped cream in individual glasses. They are a classic Southern dessert made party-ready, since everyone gets their own cup and there is no scooping. Bananas also make this a crowd-pleaser by default: they topped the list of America’s most popular fresh fruits at 13.4 pounds per person, according to the USDA Economic Research Service (USDA ERS).
Key Takeaways
- A quick stovetop pudding tastes richer than instant mix and sets firmly in the fridge.
- Chilling the cups for at least 4 hours softens the wafers into a cake-like layer.
- The recipe makes 8 cups, which is perfect for parties, showers, and potlucks.
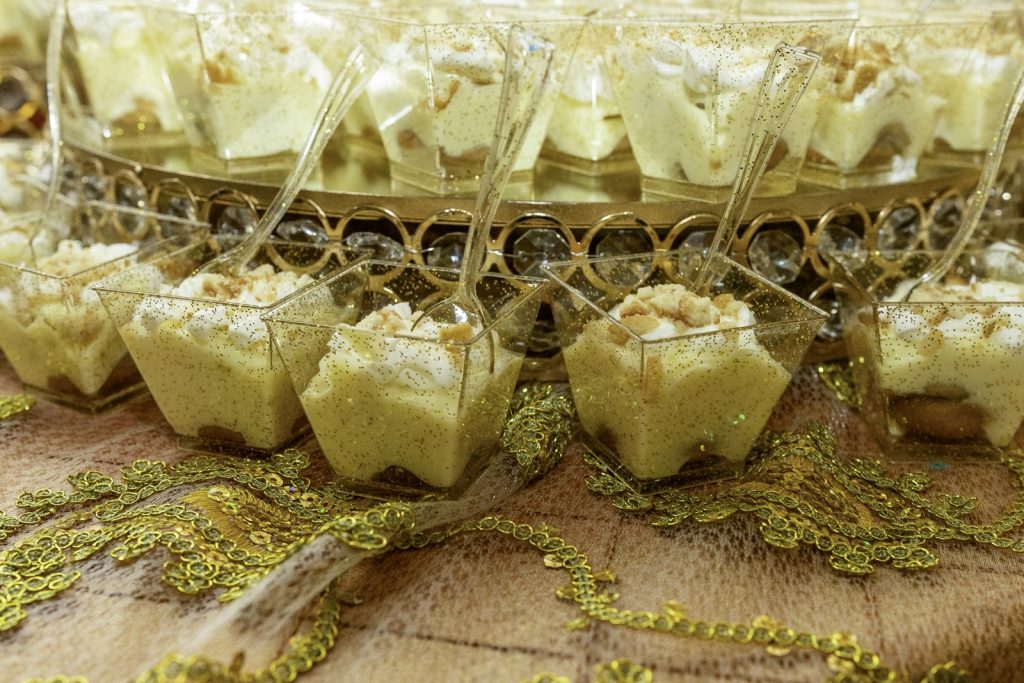
What Are Banana Pudding Cups?
Banana pudding is a layered dessert of vanilla custard, sliced bananas, and vanilla wafer cookies, usually topped with whipped cream or meringue. Traditionally, it is made in one large dish. Banana pudding cups, however, divide those same layers into small glasses or jars.
As a result, they look beautiful on a dessert table and are easy to serve. Moreover, every cup gets an even share of pudding, fruit, and cookies.
Banana Pudding Cups Ingredients
- Whole milk and egg yolks: Together, they create a rich, creamy custard.
- Sugar and cornstarch: Cornstarch thickens the pudding so it holds its layers.
- Butter and vanilla: Stirred in at the end for a smooth, fragrant finish.
- Ripe bananas: Choose yellow bananas with a few brown spots for the best flavor.
- Vanilla wafers: The classic choice. Alternatively, use shortbread cookies.
- Whipped cream: Lightly sweetened, for a fluffy top layer.
How to Make Banana Pudding Cups
The exact measurements are in the recipe card at the end of this post. Meanwhile, here is how they come together.
1. Cook the pudding. First, whisk the sugar, cornstarch, and salt in a saucepan. Then whisk in the milk and egg yolks. Cook over medium heat, whisking constantly, until thick and bubbling, about 8 minutes.
2. Finish and cool. Next, remove the pan from the heat and stir in the butter and vanilla. Press plastic wrap onto the surface and chill until cool.
3. Whip the cream. Meanwhile, whip the cream with powdered sugar to soft peaks.
4. Layer. After that, layer wafers, banana slices, and pudding in each cup. Repeat once more, then top with whipped cream and crushed wafers.
5. Chill. Finally, refrigerate for at least 4 hours so the wafers soften.
Tips for Perfect Banana Pudding Cups
- Whisk constantly. Otherwise, the egg yolks can scramble on the bottom of the pan.
- Cool the pudding first. Warm pudding melts whipped cream and turns the wafers soggy too fast.
- Slice bananas just before layering. That way, they stay bright instead of browning.
- Use clear cups. In fact, the visible layers are half the appeal.
Easy Variations
- Shortcut: Use two boxes of instant vanilla pudding mix if you are short on time.
- Caramel: Drizzle dulce de leche between the layers.
- Chocolate: Swap half the wafers for chocolate cookies.
Frequently Asked Questions
How far ahead can I make banana pudding cups?
Up to 1 day ahead is ideal. After that, the bananas start to darken and the wafers become very soft.
How do I keep the bananas from browning?
Cover the slices completely with pudding, since air causes browning. Alternatively, toss them with a little lemon juice.
Can I make one big dish instead?
Of course. Simply layer everything in an 8×8-inch dish and scoop it out to serve.
Final Thoughts
All in all, banana pudding cups are a nostalgic dessert with a party-ready twist. They are creamy, simple, and always the first thing to disappear from the table.
For more make-ahead desserts, try our no-bake mango cheesecake or our lemon blueberry poke cake.
 AuthorEmma food bloggerDifficultyBeginner
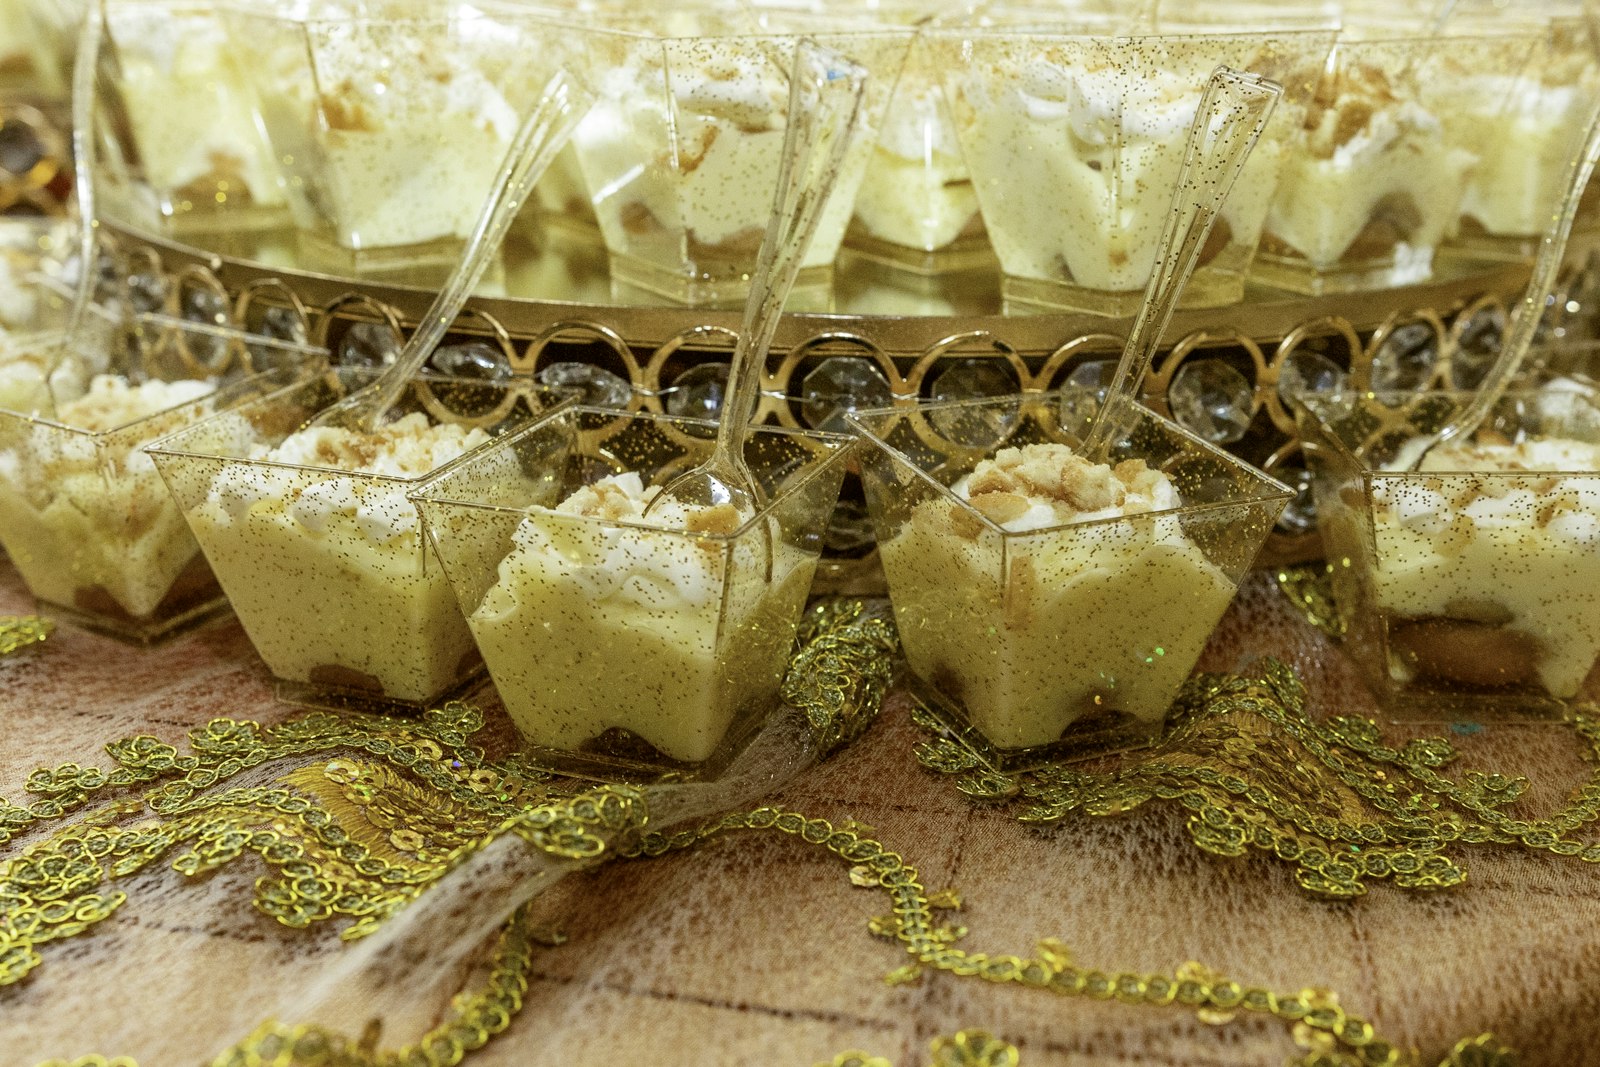
Individual cups layered with homemade vanilla pudding, banana slices, vanilla wafers, and whipped cream. Makes 8.
Vanilla Pudding
Layers
Whipped Cream
Start the pudding. Whisk the sugar, cornstarch, and salt in a saucepan. Whisk in the milk and egg yolks until smooth.
Cook. Cook over medium heat, whisking constantly, until thick and bubbling, about 8 minutes. Boil 1 minute more.
Finish. Remove from the heat and stir in the butter and vanilla. Press plastic wrap onto the surface and chill until cool, about 1 hour.
Whip the cream. Whip the heavy cream and powdered sugar to soft peaks.
Layer. In 8 clear cups, layer wafers, banana slices, and pudding. Repeat once more.
Top and chill. Top with whipped cream and crushed wafers. Refrigerate at least 4 hours before serving.
8 servings
1 cup
- Amount per serving
- Calories495
- % Daily Value *
- Total Fat 28g36%
- Saturated Fat 16g80%
- Trans Fat 0g
- Cholesterol 172mg58%
- Sodium 194mg9%
- Total Carbohydrate 55g20%
- Dietary Fiber 1g4%
- Total Sugars 39g
- Protein 6g
* The % Daily Value (DV) tells you how much a nutrient in a serving of food contributes to a daily diet. 2,000 calories a day is used for general nutrition advice.
Ingredients
Vanilla Pudding
Layers
Whipped Cream
Sources
- USDA Economic Research Service, Apples and oranges remain the top U.S. fruit choices (2019 loss-adjusted data)